Are you tired of guessing and measuring when it comes to printing templates and digital prints at their intended size? With this simple hack, you can ensure that your home-printed digital prints come out perfectly every time.
The key to this hack is adding trim marks to your page. These marks will guide you in cutting your print to the correct size, eliminating the need for guesswork.
However, it’s important to note that for this method to work, your digital file must be set up to the correct dimensions. For example, if you want to print a 5″x7″ artwork, the PDF file must be set up as 5″x7″ for the correct trim marks to appear. On the other hand, if you want to print A4 or US Letter sized files, they don’t require trim marks.

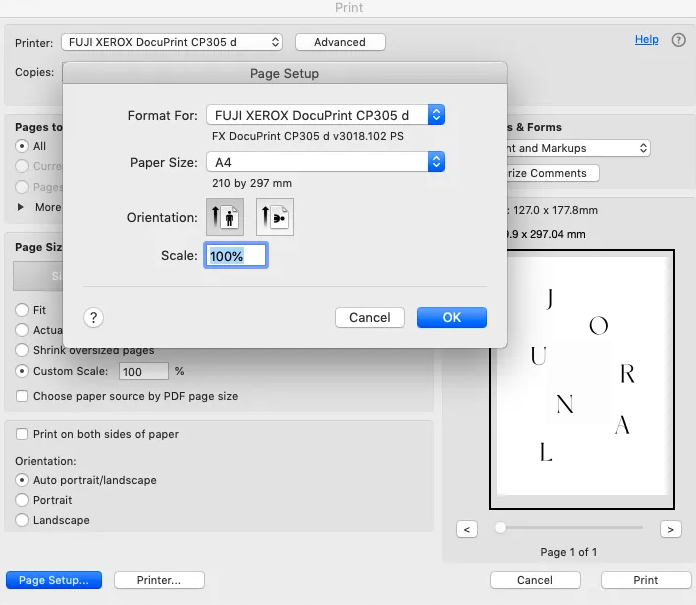
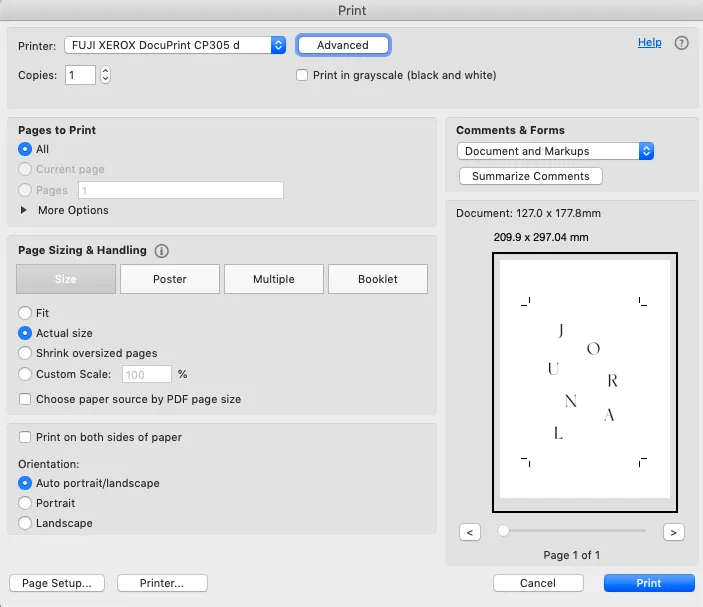
2. Make sure that scaling is set to ‘Actual size‘ in the main ‘Print‘ window.

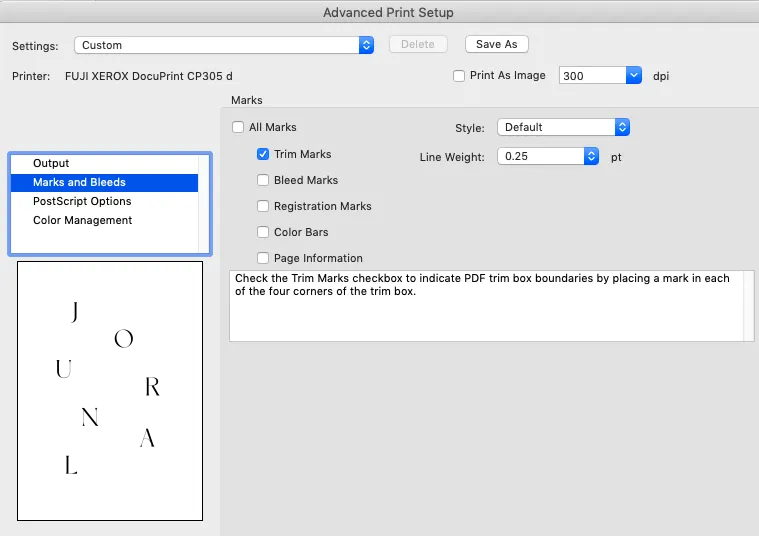
3. Click ‘Advanced’ and select ‘Marks and Bleed‘ and tick the ‘Trim Marks‘ option and ‘OK‘.

You should now see the trim marks in the preview window. Once you have printed your file, use a paper cutter or scissors to cut along the trim marks. If you want to go back to regular printing, remember to uncheck the ‘Trim Marks’ option.
By following these steps, you’ll be able to print your templates and digital prints at their intended size with ease. Additionally, all our templates and wall art printables are set to the correct dimensions, so you should have no problems with this method.


